Being on maternity leave has turned me into a real housewife. And I don't mean the kind on E!. I do laundry. I run errands. I make trifles. And yes, I make trifle bowls. Ever since I've been home full-time, I've been doing so many DIY's you'd think HGTV was following me around. This, however, is one of my all-time favorites.
I am so cheap. It's actually a little embarrassing how far its gone. I'm that person who looks on Pinterest for ideas on how to use the leftover toilet paper rolls. It got to the point where I had to step back and have a self-intervention. Sticks from the side of the road are not considered art. And I cannot -- no, should not -- clean out and reuse every single glass spaghetti jar I buy. But this trifle bowl? Totally okay. And cheap.
As far as the actual trifle goes, it's a little inspiration for Valentine's Day. All I hear is red-velvet-this, and red-velvet-that. Don't get me wrong. I love a good red velvet dessert, even if my hands are stained red for days after making it. You've got red velvet brownies, red velvet cupcakes, red velvet cake balls, and even red velvet hot cocoa {which might actually be very appropriate considering the weather}. But where's the love for good ole' chocolate? I say there's not enough. So I hope you'll give this a try. And I highly recommend making the Roasted Red Pepper & Feta Cheese Alfredo to go along with it. Not that you asked.
Supplies for trifle bowl:
- Glass bowl from Dollar Store
- Glass candle stand from Dollar Store
- Epoxy {one container is enough for about 10 projects, so I estimated this cost about $.50 or less for this one project}

The candle stand and the glass bowl were both from the Dollar Store, and the epoxy is from Walmart. Make sure you get the epoxy that sets in 5 minutes. There's one that dries a lot faster, but you'll need the extra time.

The way this particular epoxy works is you cut the ends off both tips {you'll see what I'm talking about when you buy it} and squeeze some onto a paper plate. Mix it up and, using a tooth pick {or something similar} generously apply to the top of the candle stand.

Place the bowl facing down on a sturdy surface. Firmly press the candle stand onto the bottom of the bowl. Let sit and dry. You're supposed to let it sit for 24 hours to dry thoroughly, but I was in a hurry and used it two hours later with no problem.

Ta-dah! Glue is awesome {as well as glue-like substances}.

I love it! And the tube of epoxy can be used for several of these types of serving dishes and platters. And seriously, this does not look like it cost $3!
All right, on to the real star -- the trifle.
Ingredients:
- 1 {19.8 ounce} package brownie mix
- 1 {3.9 ounce} package instant chocolate pudding mix
- 1/2 cup water
- 1 {14 ounce} can sweetened condensed milk
- 20 oz. frozen whipped topping, thawed
- Candy topping of your choosing {I used Reese's}

Here's a picture of all the ingredients you'll need.

We're going to make the brownie mix according to the package instructions. Most brownie mixes require eggs, oil and water, but check the back of the box to be sure.
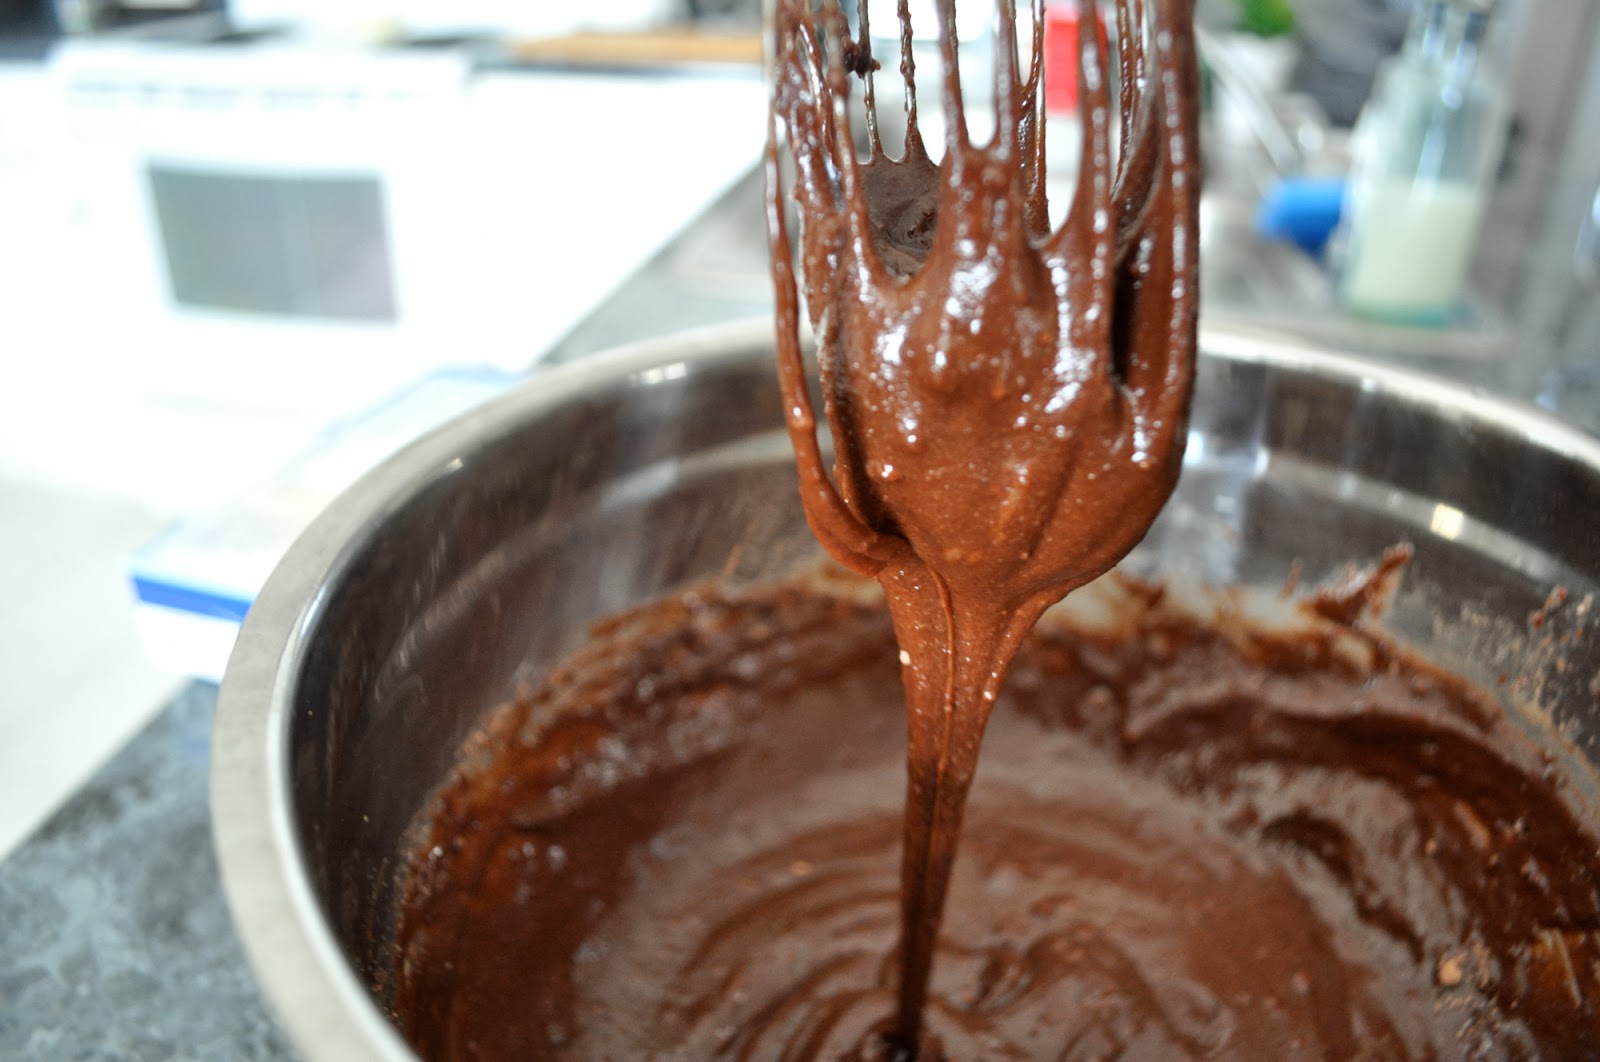
Do you know I just learned you're not supposed to lick the spoon because you'll get salmonella? World. Rocked. Still did it, though.

Spread out the mix in the appropriate-sized pan. Mine was 13x9. Once again, consult the box instructions.

Bake according to the box instructions and cut into small, one-inch pieces. And I would also suggest that the brownies be gooier. This isn't the time to make well-done brownies.

Combine the pudding mix, condensed milk and 1/2 cup water until the mixture is smooth. Fold in 8 oz. of the whipped topping and gently stir until combined.

Start with half the brownies.

Then half the pudding mixture.

Add in half of what's left of the whipped topping.

Then the rest of the brownies.

Now add the rest of the pudding mixture.

And {you guessed it} the rest of the whipped topping!

The final step -- cover with whichever candy topping you chose.

That's it! Let it sit in the fridge for about 2 hours to set.
Love and trifles,